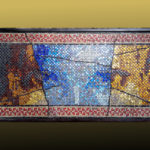
Mosaicblues’ house number was rather ugly and in poor condition…
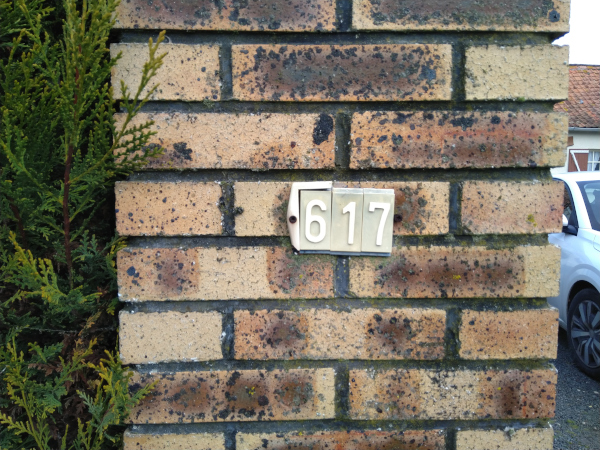
|Something had to be done !
I went to work last fall
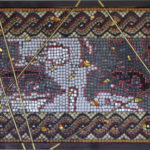
I first made a drawing of the new house number
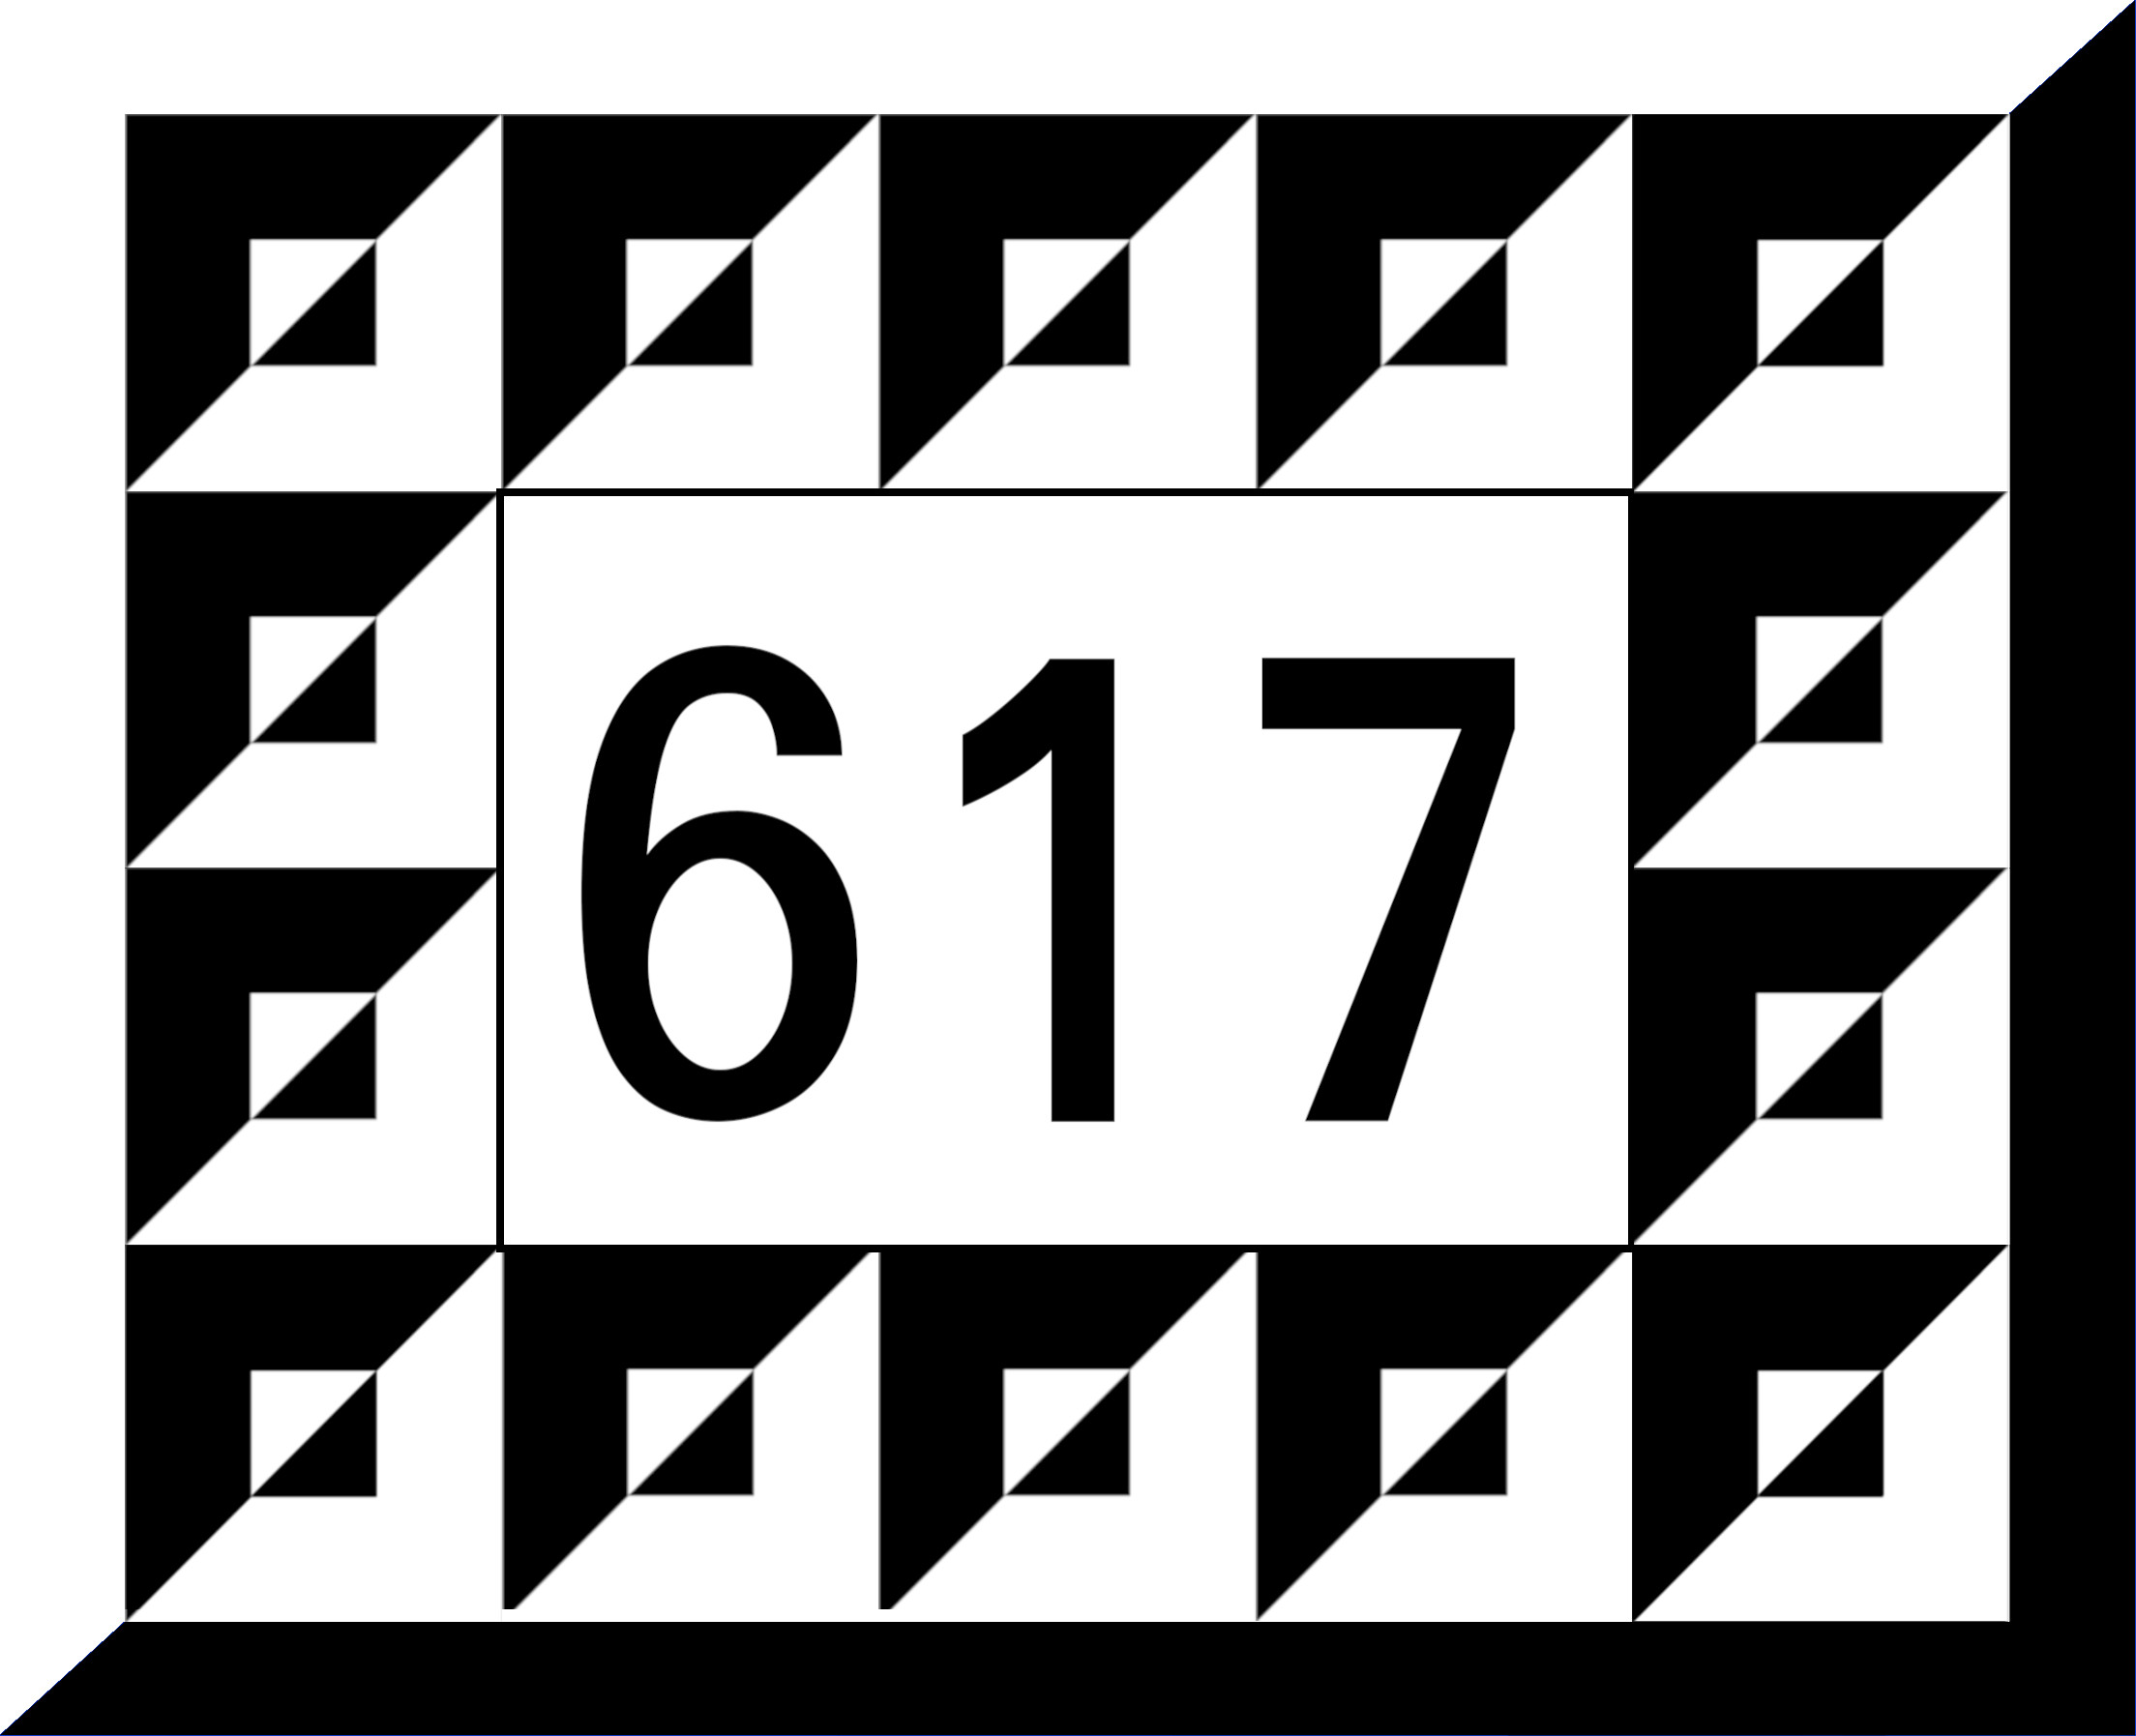
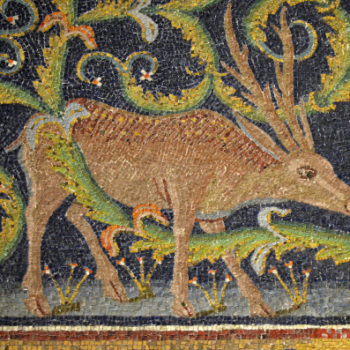
The frieze surrounding it is a Roman mosaic pattern which gives a striking impression of relief.
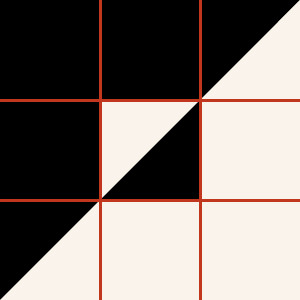
As you can see, this pattern is quite easy to create using square tiles, some of which are cut diagonally to create isosceles triangles.
As I only used tiles of the same thickness, once is not customary, I worked using the direct method.
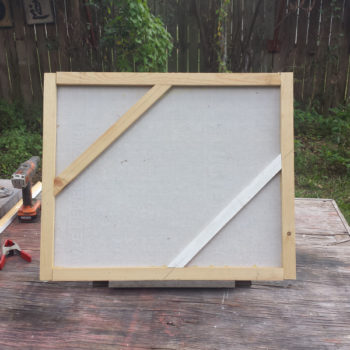
I glued the tesserae to a glass canvas which I then glued to a piece of 4mm Wedi board.

My house number was ready to be installed in October 2023. The many storms (Thanks Ciaran for blowing parts of my roof off) , rain and frost that have hit us since then prevented me to install the mosaic earlier. (Cement doesn’t like the cold, and neither do I…). However, this week, His majesty the sun having decided to come out from behind the ice floe, I myself decided to come out of hibernation to proceed with the installation!
Installation of the house number mosaic
To install a small mosaic you need :
Materials:
- Concrete mortar tile adhesive
- water
Tools
- a bucket (for water)
a container to mix the mortar
a small trowel
a notched spatula
a ruler
a water level
a pencil to mark the location of the mosaic on the wall.
a piece of board to hold the mosaic against the wall while the cement sticks.
a sponge for final cleaning
Rather than explaining at length the procedure to follow, I suggest you watch this video that I made of the installation.
It takes 12 hours for the cement to set before you can leave the mosaic on the wall without support. It would have been wise to use a more elaborate system than the stick I used in the video, but I had trimmed many trees in the backyard, and that’s all I had on hand at the moment…. A board clamped to the pillar for example, would have been a more professional…
Traces of cement remaining on the wall after the mosaic is installed can generally be removed using a wire brush.
After thoroughly cleaning the plate with water and letting it dry, I recommend protecting it by applying a layer of a 50/50 mixture of linseed oil and turpentine. I regularly use this mixture to protect and revive the colors of my mosaics.
If you like this type of house number…
Get in touch, I’ll build one for you.
This particular motif is quite appreciated for the impression of volume it gives


But I have many different patterns available in my archives!
I made these numbers in porcelain stoneware, a very weather-resistant material. Mine (the 617 described in this article) measures 15 x 19 cm. (6″ x 2 1/2″). It is mounted on a 4mm rigid construction board. I can deliver my mosaics mounted on thicker supports, or simply glued onto a piece of woven glass cloth.