Accuracy in mosaic models
In the same way you do not build houses without blueprints, you should not build mosaics without a mosaic models. Accurate ones…
Some brilliant people may be able to create amazing mosaics without models. I am not one of them. Some houses collapse, some mosaics turn ugly; all of this because of poor planning. It does not have to be this way. The tools are here to be used, they are free.
During the following months I will share practical ways to create accurate mosaic models, by using graphic software freely available on the net.
I will begin with straight lines. Today we will create a straight geometric borders by lining up basic elements. At the end of the post I put 2 elements I created from actual roman mosaics, you are welcome to copy them to use them for practice, or to actually use them in your own mosaics.
The GIMP software
We will use the GIMP software because :
- That’s the one I use.
- It runs on Windows, Linux and Apple computers.
- It is free to download. [Download GIMP Here]
Other graphic software such as Photoshop allow to perform the same tasks. If you want to use this tutorial with them, you will need to find the commands to execute them. You can also download and install GIMP on your computer. Remember, it’s FREE !
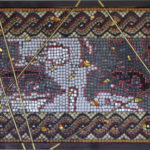
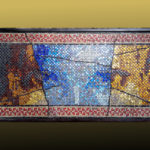
From this single element :
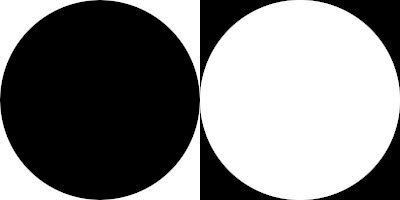
We will build a straight border :
![]()
“Copy and Paste” does not work
“Copy and Paste” sounds very easy. This is how it goes :
1. copy your element.
2. create a long blank image where you will align your elements
3. paste your a 1st element into the blank main image.
4. paste the same element again into the main image (it is not blank anymore), and line it up with the 1st one to the best of your ability with your mouse
5. paste the element again into the line image and line it up, to the best of your ability, with the 2nd one.
6. etc…
This is the theory. Practically, it does not work. You can’t accurtately line up the elements. You might be able to line 2 of them with a decent accuracy, but the more elements you get, the more difficult it becomes.
And if you try to stack lines like this :
It becomes a nightmare.
Trust me, I have tried. I could have cried ! 
This is why i got started researching the functionalities of GIMP
GRIDS are your friend !
Grids, a very cool feature of GIMP and other graphic software are sets of lines that can be displayed on top of a drawing. These lines are only visible on the computer screen, and will not be printed.
To get a grid to show on your GIMP screen :
• Click on “View” on the menu at the top of the screen. It will open a box of options. Then check the box “Show grid” down the box

To adjust the distance between the Grid lines :
• Click on “Images” on the menu at the top of your screen, it will open a box below. Then click on “Configure grid” in the box. This will it will open a new box.

• In the new box, go to “Spacing” and key in the distance between the lines.

The way it’s done : designing the model
The dimensions of our element are : 400 x 200 pixels. The width is exactly twice the height and it is going to make our life easier. We will later consider a different proportion between width and height.
Let’s say we want to produce a line of 5 elements. In that case the width of our line will be 5 x 400 = 2000 pixels. So we need to create an image with dimensions of 2000 x 200 pixels.
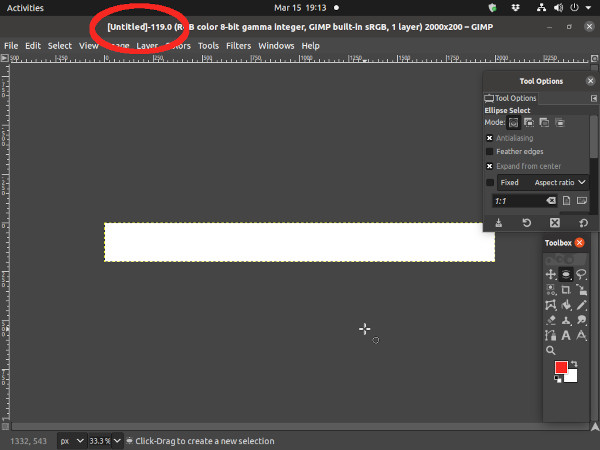
Creating the 2000 x 200 pixels image in GIMP :
1. Click on “File”on the menu at the top of your screen, it will open a box below.
2. Click on “New”, it opens a box “create a new image”

3. Type in the dimensions of your new image : width 2000, height : 200

4. Click “OK”. Gimp creates a new window with a 2000 x 200 pixels unnamed image.
Now we are going to save this file under the name “5 elements line”
1. Click “File” and “Save as”, this opens a new window
2. At the top of the window, type the name of the file : ‘5 elements line”
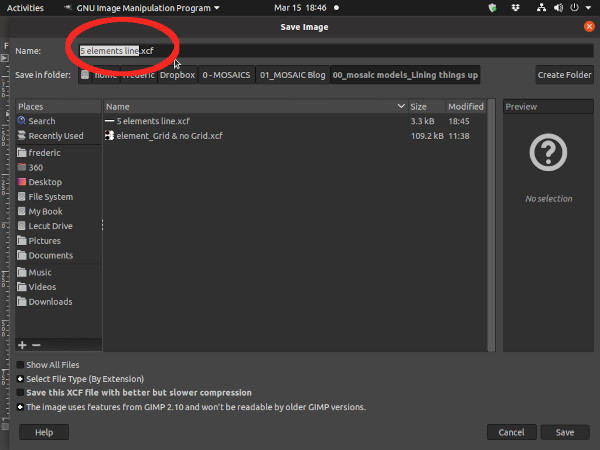
3. Click “OK”; we now have a blank image where we are going to build our border.
Configuring and displaying the GIMP Grid
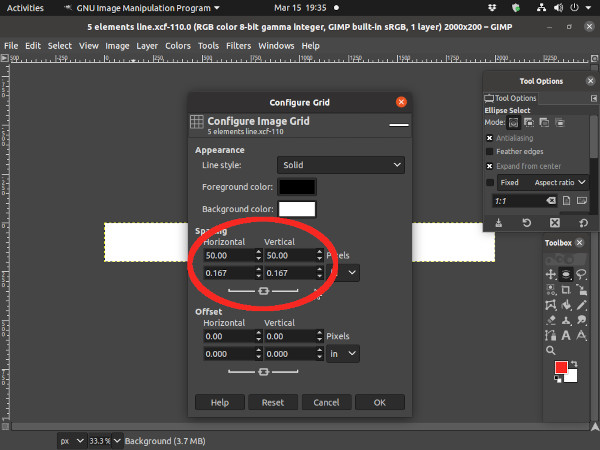
Configuring the GRID
• Click on “Image”on the menu at the top of your screen, and on “Configure grid” in the box below. This opens a new “Configure Grid” window.

• Enter the value “200” instead of “50” in the “Spacing – Horizontal” box.
Showing the GIMP grid and activating its “Snap to Grid” function.
“Snap to grid” is what is going to perfectly align our elements inside the image.
Click on “View” on the menu at the top of the screen. It will open a box of options. Check the “Show grid” and “Snap to Grid” options down the box
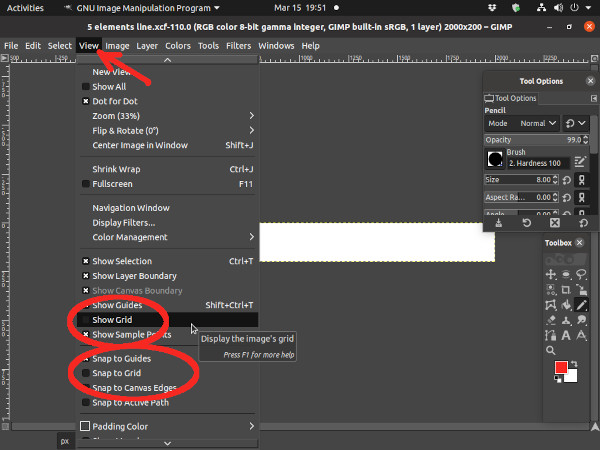
The Grid now appears on our image.
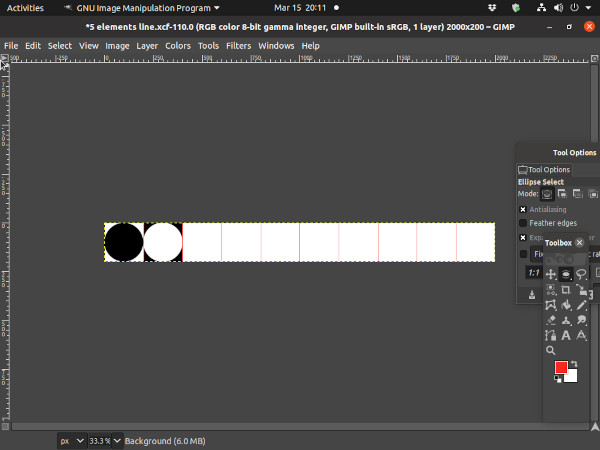
Copying and pasting the elements within the Grid
Open the “element” window in Gimp. Click “Edit” and “Copy”
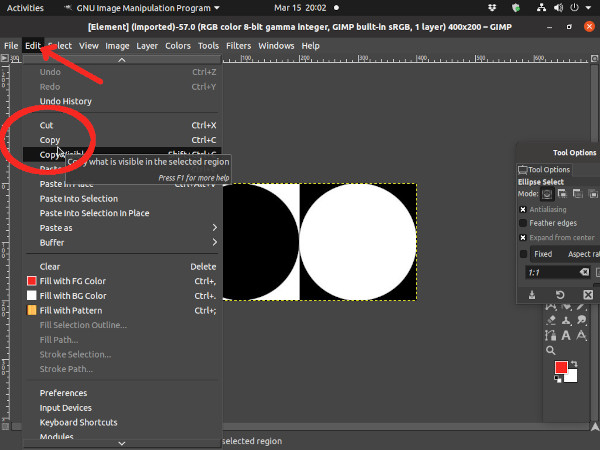
Revert to the “5 elements line” image. Click “Edit” and “Paste”
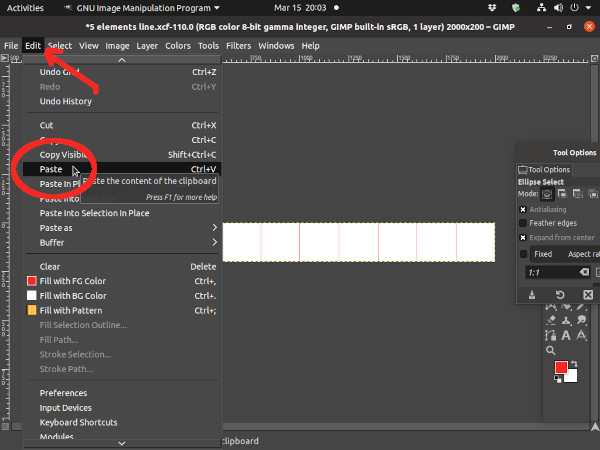
the element appears in the middle of our image.
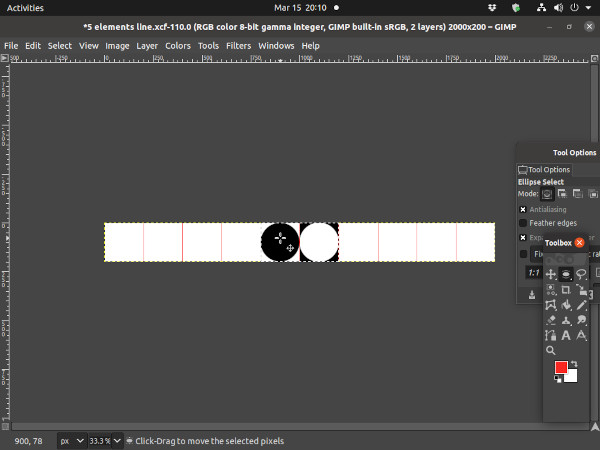
To move the element to the left of the image
Left click on it with the mouse and move the cursor to the right.
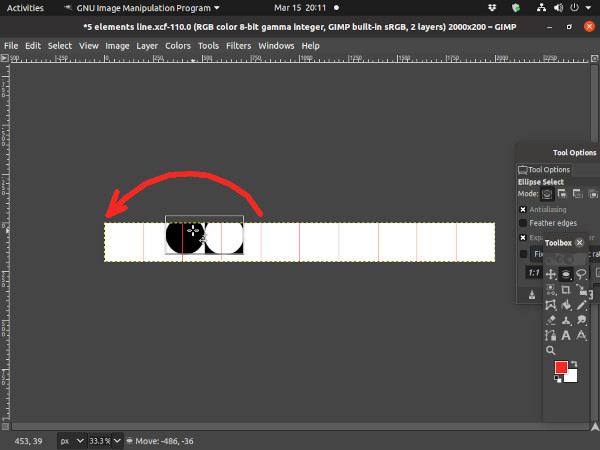
When the left top corner of the element gets close to the left top corner of the line, it will snap to it. Once you release the cursor, your element is perfectly aligned on the left of the line.
Paste an other element into the line.
Click on “Edit”, then “Paste”. The element is now pasted on top of the previous element. Left click on it with the mouse and move it as you previously did, to the next position.

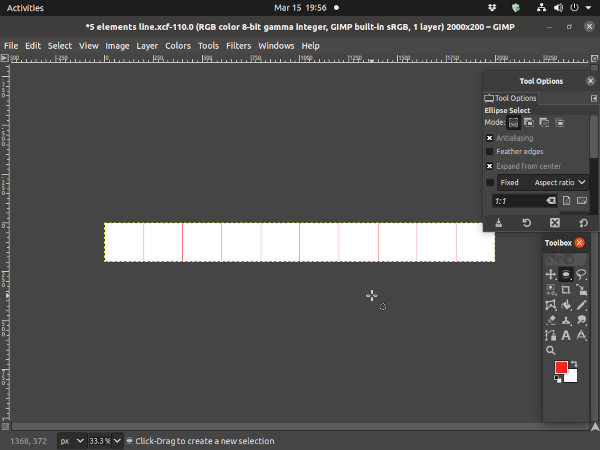
When the 2nd element is in place, repeat the procedure with a 3rd, 4th and 5th element, until you have a perfect line of 5 elements.
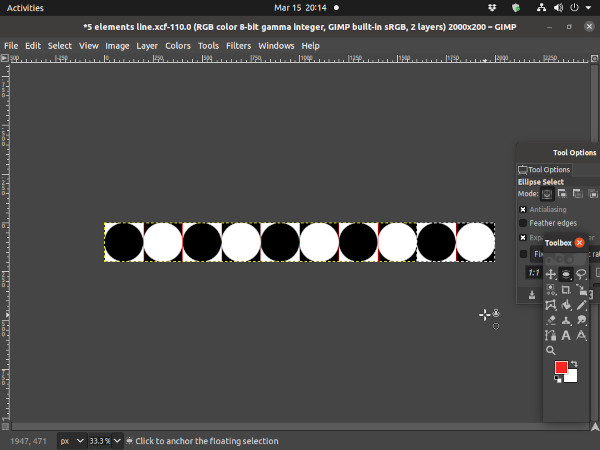
Congratulations, you made it ! 
Uneven dimensions
What if instead of having those nice, even dimensions of 200 x 400, our element was actually 195 x 387 ?
Not a big deal. whoever designed the GIMP made it so we can adjust the grid to the size of the element
In that case, the width of our image should be 387 x 5 = 1935 (we want it to include 5 elements)
So we need to make our image 195 x 1935 pixels
And we configure a 195 x 387 pixel grid.
Click on “Image”, then “Configure Grid”.
- When the “Configure grid” window open, go to “Spacing”
- Click on the small chain link to unlock it (Green arrow on the picture)
- Enter 387 in the “horizontal” box and 195 in the “Vertical” box.
- Click OK at the bottom of the box.
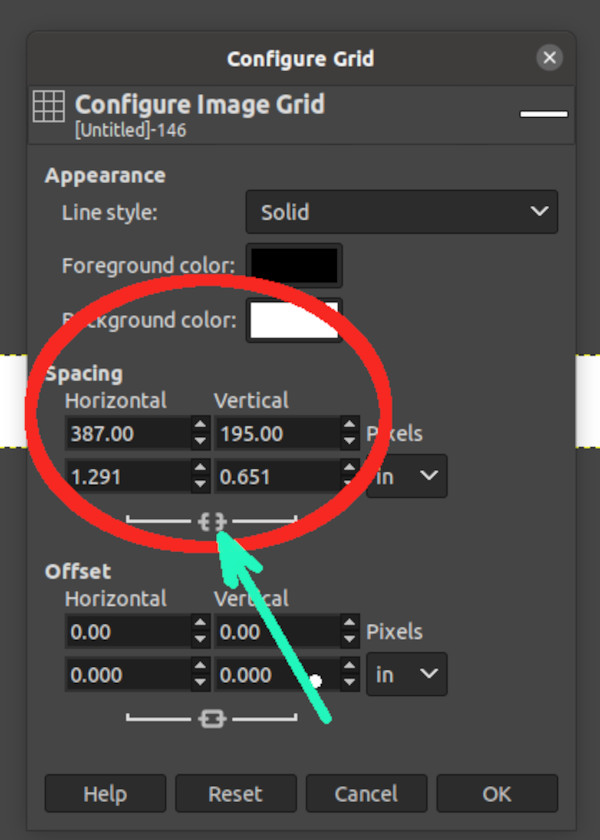
You have created a grid of the dimension of your element.
You can now line the elements up as you did before for the 200 x 400 pixels ones.
Practice makes perfect mosaic models !
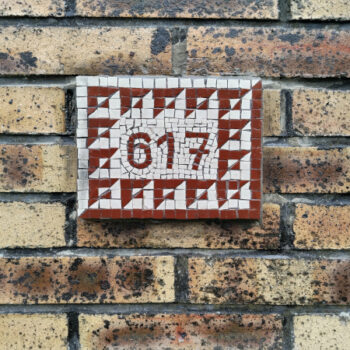
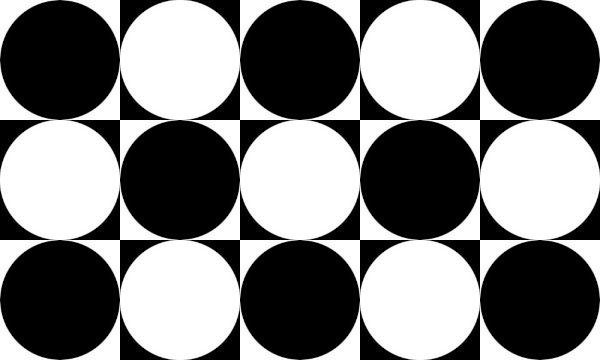
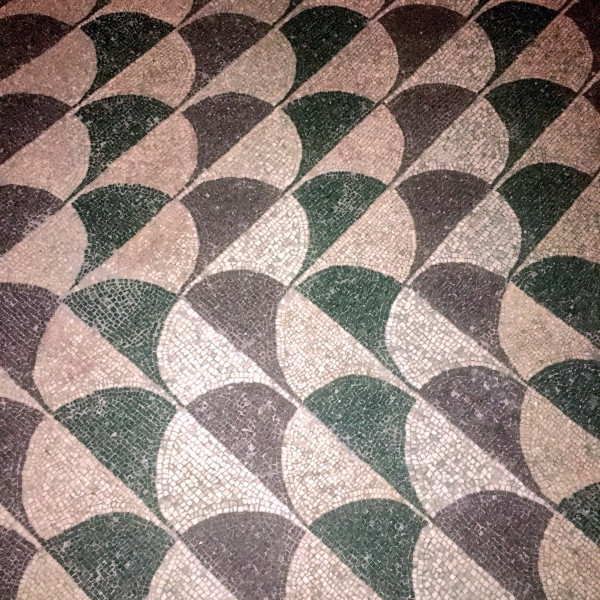
Now this is a very basic piece, I suggest you practice a little. This technique will allow you to realize this kind of things :

This design or variations of it are a staple of late roman empire and early medieval mosaics,
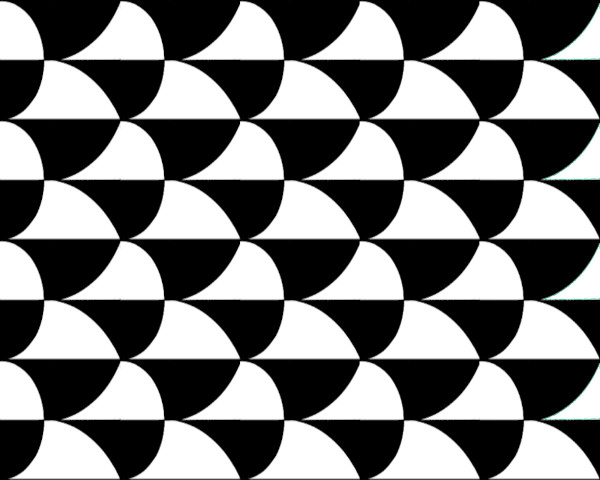
And one of the most famous use of this one are the bath of Emperor Caracalla built around 215 AD in Rome
Here are the basic elements you’ll need :

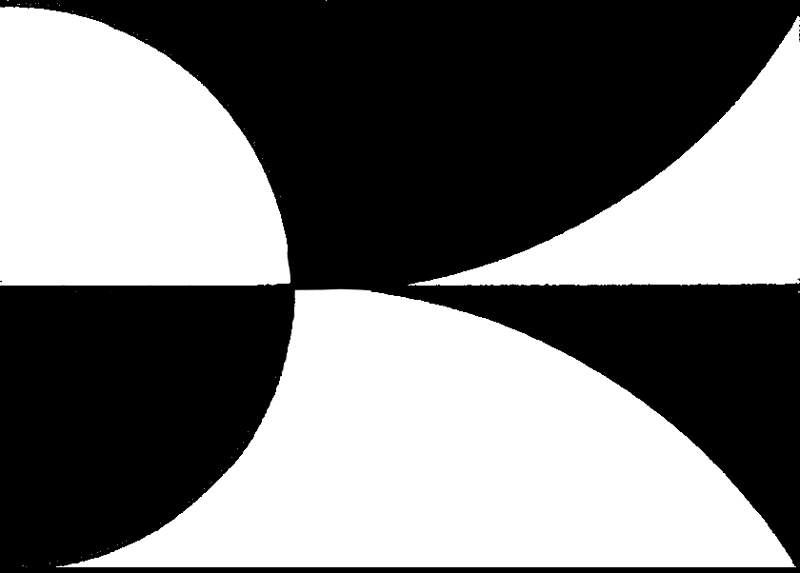
Have fun ! Do not hesitate to contact me if you have questions.