In this post I will show you how to create a geometric background based on a Roman mosaic pattern. The method is simple, and you will be able to use it later for many other patterns I will later publish in this blog.
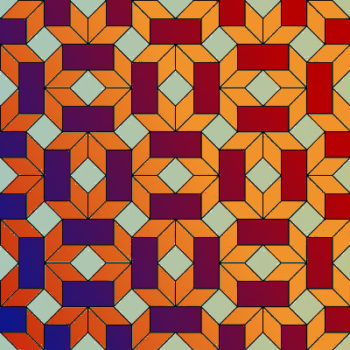
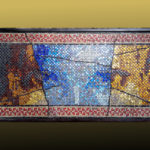
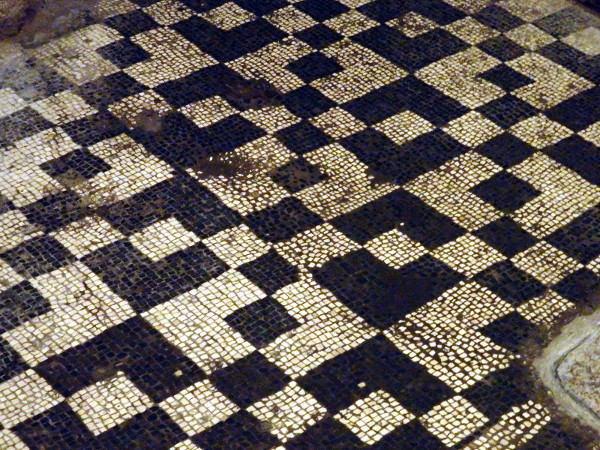
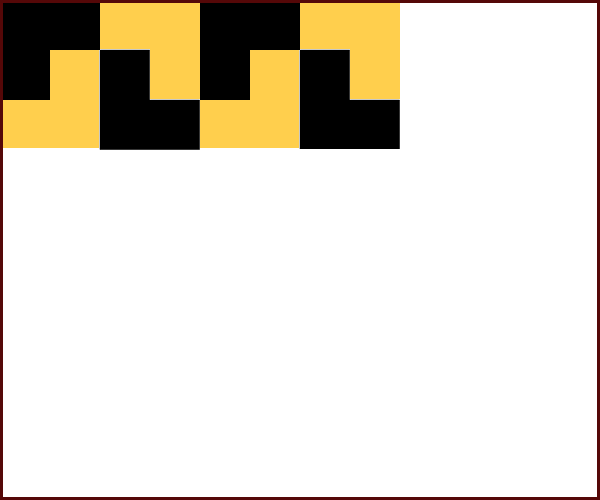
This particular Roman mosaic pattern has been used in many private and public spaces around the Empire. This is how it looks :
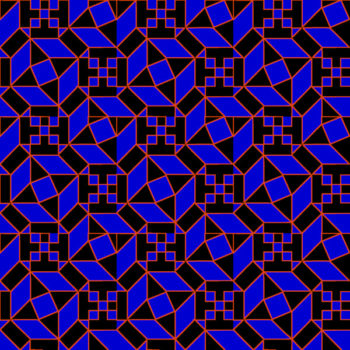
Many variations of it have been created and used by Roman mosaicists.
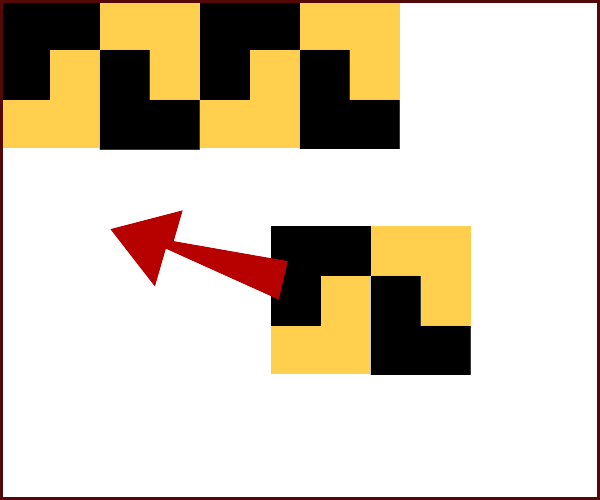
The basic element is :

It is composed of 3 rows and 4 columns of squares.
Such elementary pattern can be described in a matrix or spreadsheet by attributing a value of “1” to the black square and “0” to the whites :
| 1 | 1 | 0 | 0 |
| 0 | 1 | 0 | 1 |
| 0 | 0 | 1 | 1 |
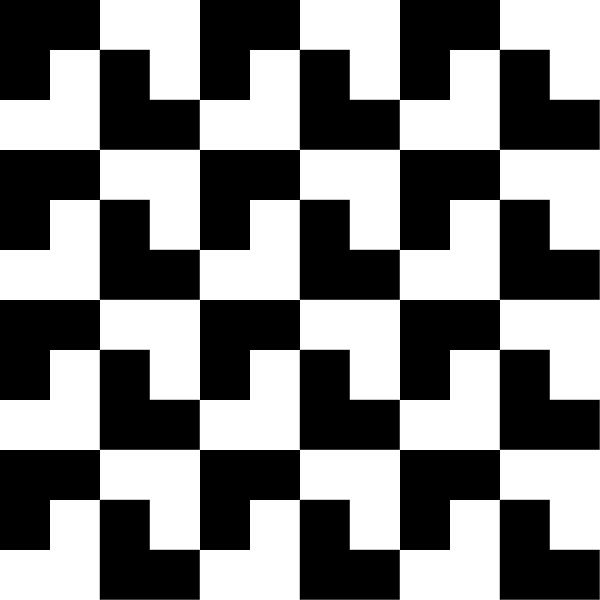
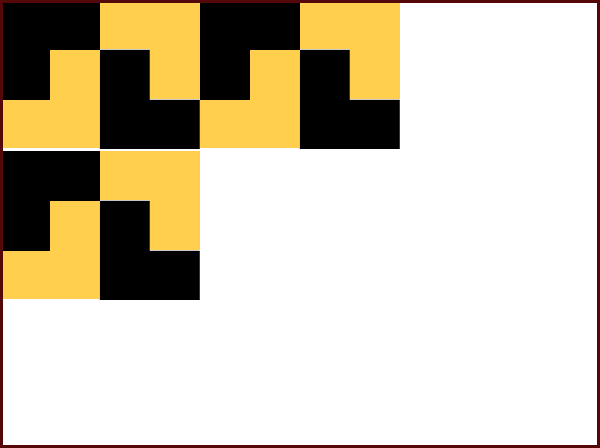
And you can create backgrounds or borders by translation of it.
Either on a spreadsheet as :
| 1 | 1 | 0 | 0 | 1 | 1 | 0 | 0 |
| 0 | 1 | 0 | 1 | 0 | 1 | 0 | 1 |
| 0 | 0 | 1 | 1 | 0 | 0 | 1 | 1 |
| 1 | 1 | 0 | 0 | 1 | 1 | 0 | 0 |
| 0 | 1 | 0 | 1 | 0 | 1 | 0 | 1 |
| 0 | 0 | 1 | 1 | 0 | 0 | 1 | 1 |
| 1 | 1 | 0 | 0 | 1 | 1 | 0 | 0 |
| 0 | 1 | 0 | 1 | 0 | 1 | 0 | 1 |
| 0 | 0 | 1 | 1 | 0 | 0 | 1 | 1 |
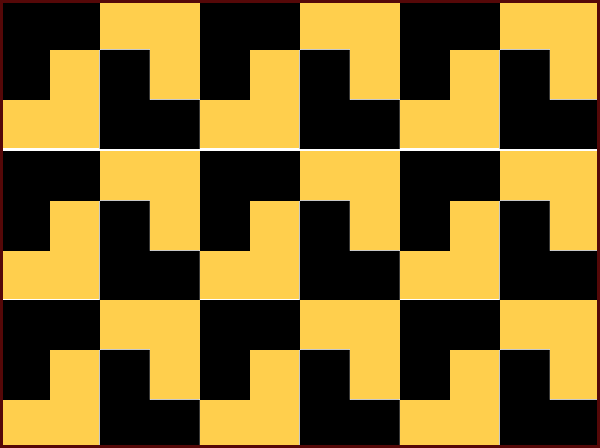
With colors :
| 1 | 1 | 0 | 0 | 1 | 1 | 0 | 0 |
| 0 | 1 | 0 | 1 | 0 | 1 | 0 | 1 |
| 0 | 0 | 1 | 1 | 0 | 0 | 1 | 1 |
| 1 | 1 | 0 | 0 | 1 | 1 | 0 | 0 |
| 0 | 1 | 0 | 1 | 0 | 1 | 0 | 1 |
| 0 | 0 | 1 | 1 | 0 | 0 | 1 | 1 |
| 1 | 1 | 0 | 0 | 1 | 1 | 0 | 0 |
| 0 | 1 | 0 | 1 | 0 | 1 | 0 | 1 |
| 0 | 0 | 1 | 1 | 0 | 0 | 1 | 1 |
Or graphically :
In your preferred graphic software (Photoshop, GIMP…) by repeated translations of the element in the vertical and horizontal directions as I am showing below (I have used yellow and black colors for contrast on the white background of the screen)
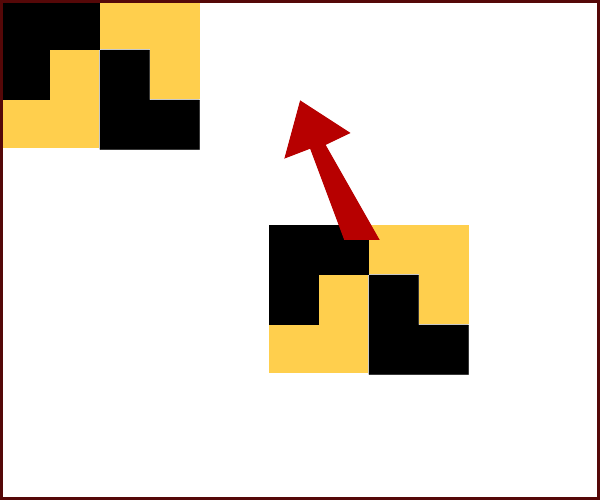
From the basic element :

Determine the area you want to cover with the pattern :

Copy and paste the element into the area.

Move it to the right of the first element
It will be easier to properly align the elements by configure the grid and enable the “Snap to grid” function of your graphic software. (in Gimp first go to “images>configure grid” and then to “View” and click on “View Grid” and “Snap to Grid”)
Paste again the element

This time move it just below the first element
Keep pasting and moving the elements until you have covered the whole area.
The whole thing looks much better when you have a perfect number of elements on the surface you want to cover. When it comes to graphic design some basic calculations will allow this.
First you need to make sure that the length and width of the area you want to cover is an exact multiple of your element.
If your element measures 40 x 30 units like this one does, you will need to chose an area that is a multiple of this. For example an area of 120 x 120 would fit.
You may have to cheat
If your area is not equal to an exact number of your element, you will have to cheat. There are many different ways to do this and I will describe 2 of them here :
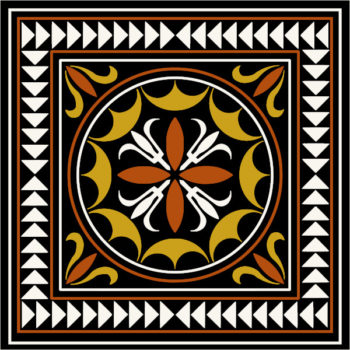
1 – Keep the exact proportion (4 x 3) of your element and use plain borders as in :

2 – Change the proportions of the element as in :

I will publish many more of these tiles patterns in 2020.
Please feel free to use these beautiful and elegant Roman mosaic patterns and designs for your own projects. if you do so, it would be nice to mention my name and where you got them from, and to let me know what you are using them for.