Making the mosaic model of the Lullingstone mosaic
In this article, I am going through the various stages of designing the actual mosaic model for a reverse method mosaic. I built the Lullingstone Europa mosaic in late 2021. It was the first mosaic I built in France after I moved back here from the USA in July 2021. Before that I had been building mosaics in the US for the past 20 years.
This mosaic was excavated from the Lullingstone Roman Villa in Kent, UK.
Reverse method
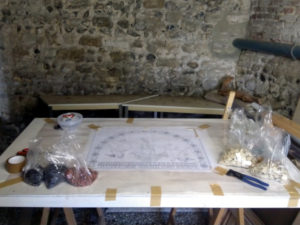
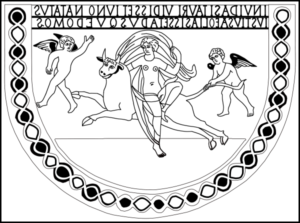
For several reasons, I build 90 to 95 % of my mosaics in reverse method. This means I build my mosaics upside down, by gluing the tesserae on a mirror image of the final mosaic (with a water soluble glue). Once all the tesserae are laid, I glue a rigid support on top of them, with mortar. Once the mortar has set, I flip the whole thing and see my mosaic for the first time.
Graphic design : GIMP & INKSCAPE
I first created a model I used to lay the tesserae. I use 2 softwares to do this : GIMP and INKSCAPE. These are 2 very powerful freewares. I have been using them for years and am very happy with them. You can download them for free from the links provided here.
In the case of the Lullingstone Europa mosaic, I started from a picture found on Internet.
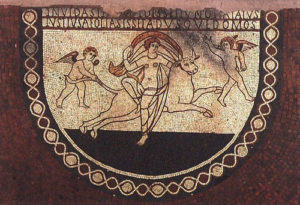
On GIMP you can work with different layers. So I created one layer for each color used by the mosaicist.
Note : The colors used by painters and mosaicists are pretty much the same for all cultures from paleolithic to modern times. When they used 2 colors, they were Black and White, 3 colors : Black, White, and Red. 4 colors : Black, White, Red, and Yellow.
The colors of mosaics :
- 2 colors : Black, White
- 3 colors : Black, White, Red
- 4 colors :, Black, White, Red, Yellow
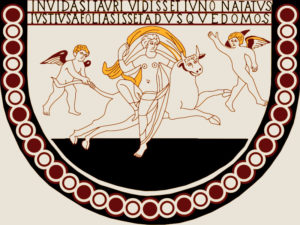
Here we have a 4 colors mosaic, a White (creamy) background, Black, Red, and Yellow
I created a drawing (or layer) for each color.
Semi Circular Border
The semi circular border was a little challenging. It’s design is unique. I have worked a lot on borders, I have not met this one anywhere else, and that’s one reason why I like romano-british mosaics, the unique way they sometimes treat otherwise classical themes or patterns.
As it is easier to design a full circle and later cut it in half I just did this.

I created both Black and Red drawings of the border.
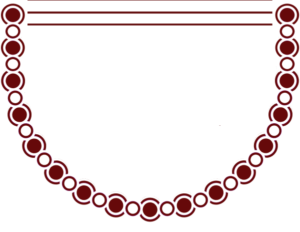
The letters
Then came the inscription.

The Red and Yellow figures
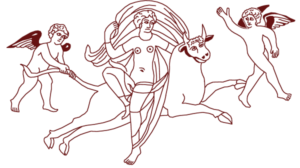
The Red Figures
And the Yellow part of them.

Combination
By combining the different colors, (Black, Red, Yellow) I created the tricolor model of my mosaic
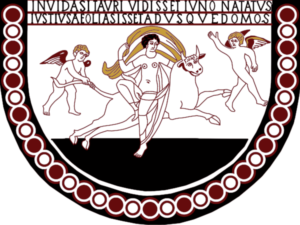
I decided I would change the color under the border from Red to White.
I also created a 4 colors model. This is not necessary for printing purpose, but is more realistic to actually lay the tesserae. I keep such models on my phone so I can check them out While I am actually laying the tiles. This is convenient as the model itself is printed in Black and White only. (See below)
Printing the mosaic model
I have the models printed full size. When it comes to the actual printing, it is much cheaper to do it in black and white, on a low quality (drafting) paper. You could have everything printed in color, but the price would be outrageous. So I created this drawing with the outlines of the various colors.
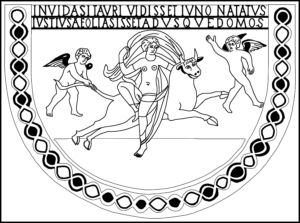
And flipped it to create the mirror image I need because I work in reverse method.
And that’s all for the day Folks, in a next post I’ll show you how I actually built the mosaic !
