In 2017, I started to travel to see mosaic I had been dreaming of for many years. Twice a year I would go back to Europe and then go to Spain, Portugal, Germany… You realize of course that almost wherever you can find Roman mosaics, there you’ll also find good wine and food.
Then came 2020… And I’ve since been living in the memories of my past trip !
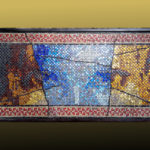
In 2018/2019, I went to Morocco with my family. I had fantasized about the Volubilis mosaics for 15 years. We left Fez one morning for a tour of Volubilis and Meknes. I stayed in Volubilis !

I previously blogged about the Volubilis mosaics in 2 articles
Learning from the Volubilis mosaics
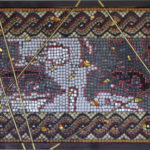
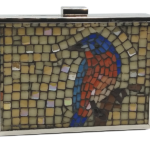
Some figurative scenes of the Volubilis mosaics are quite unique in their depiction of activities specific to Roman Mauretania.
But when I realized the wealth of geometric borders and rugs used by the local mosaicists I became quite interested in the way they had constructed them.
3 basic shapes…
What I always find amazing is how some patterns that look so intricate are in fact very often (but not always) generated through combinations of very basic elements.
- Squares
- Triangles,
- Circles,

are pretty much all you need.
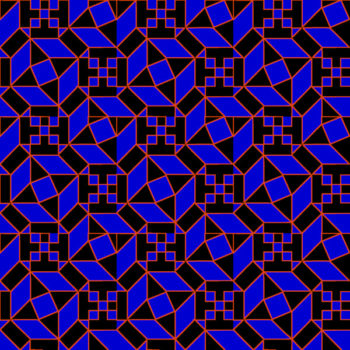
So here one of those Volubilis mosaics shows a nice combination of hexagons, squares, stars and triangles. Some of them inscribed with various medallions.
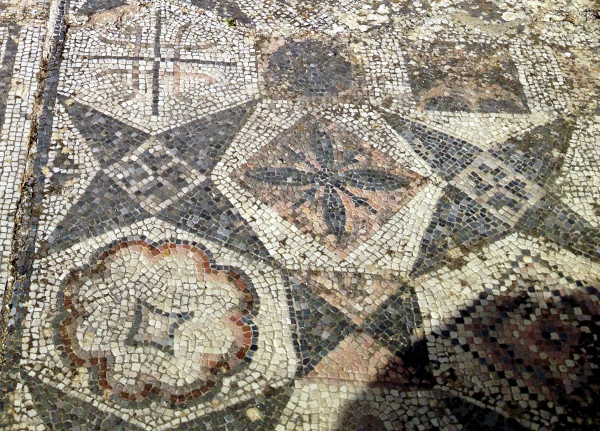
Researching this design, I came to realize that its basic element is a combination of 1 square and 4 triangles :

If you duplicate and combine this element on an orthogonal grid as I explained in my previous post about roman tiles, you end up with this type of combination :

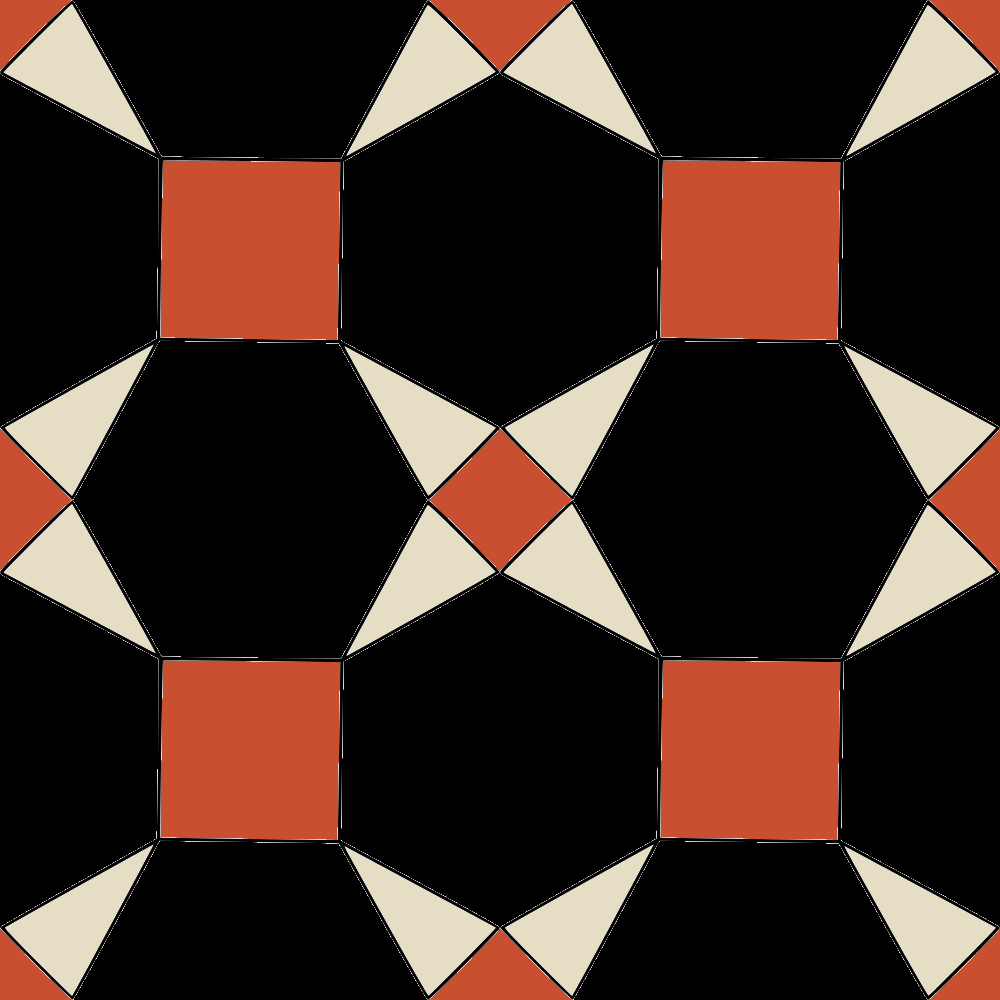
The hexagons are now visible and you can now create bigger combinations of this pattern and colorize them to your liking.
Here is very classical early roman palette, easy to realize with 2 stones and terracotta :
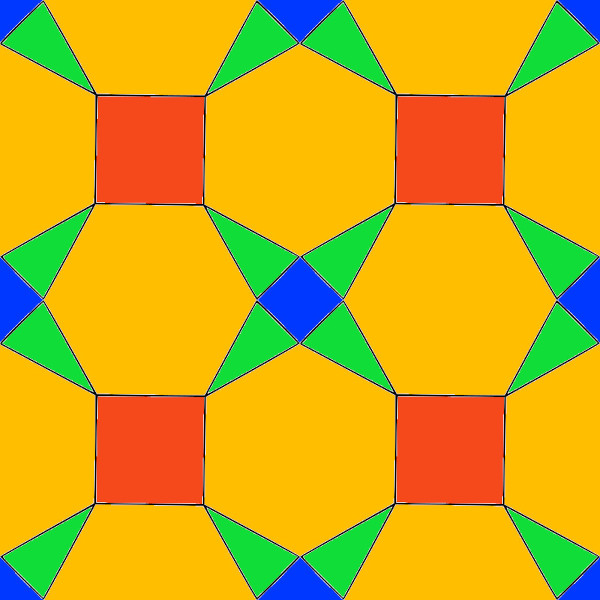
And this is a much brighter palette. This type of colors could only be achieved with glass tesserae.
You could also use different patterns like this Solomon knot

to insert them into the frame. Many of the Volubilis mosaics were built in this way, by creating a regular frame and filling it up with various medallions.

As you can imagine them, variations are endless. The very interesting part of this is the fact that an infinity of decorative patterns is generated from a simple combination of 1 square and 4 triangles.
Today we arranged the basic element on the simplest possible grid. In a next post I’ll show you how the exact same elements can actually generate a very different design when combined in a slightly different way.
Feel free to download and use the images on this page for your own graphic or mosaic projects. If you realize something you are particularly proud of, I would love to see pictures !
![]()


1 Comment. Leave new
[…] Volubilis mosaics – Part deux […]